Specac is a London-based leader in designing and manufacturing precision-engineered spectroscopy accessories and solutions for critical laboratory analysis worldwide. The company serves international markets, with exports making up 90% of its sales. Specac’s global reach was recognized in 2018 with the Queen’s Award for International Trade. With over 80 employees in the UK and USA and ISO 9001 and ISO 14001 certifications, Specac continues to drive innovation and expand into new applications, whilst upholding its reputation for excellence worldwide.

The challenge: increased complexity
Specac faced a growing need for precision in its measurement and quality control processes as production needs grew, particularly with more intricate assemblies and components.
“As parts became more complex, manual gauges and spreadsheets simply couldn’t keep up with the level of detail we needed,” explains Mark Williams, Quality Manager
They had relied on manual gauges and spreadsheet data entry for years, but as part complexity and tolerances tightened, these traditional manual methods began to fall short in terms of efficiency and accuracy.
- Time and scalability challenges: Specac’s manual inspection processes were slowing down production and making it difficult to scale operations. As customer demands for precision and faster turnaround times grew, they found it difficult to keep up with the resources at hand.
- Need to enhance quality control: While Specac’s manual methods served them well, they realized that – as part-complexity increased – these methods had limitations in maintaining the level of consistency required for highly intricate or high-spec components.
- Reporting challenges: Meeting customer demands for traceability and detailed reporting was becoming more time-consuming and difficult, particularly for smaller or more complex parts.
“As parts became more complex, manual gauges and spreadsheets simply couldn’t keep up with the level of detail we needed,” explains Mark Williams, Quality Manager at Specac.
The company required a solution that could deliver repeatable accuracy, streamline data reporting, and adapt to various part types without slowing down production.
The solution: Vision Engineering’s Deltron
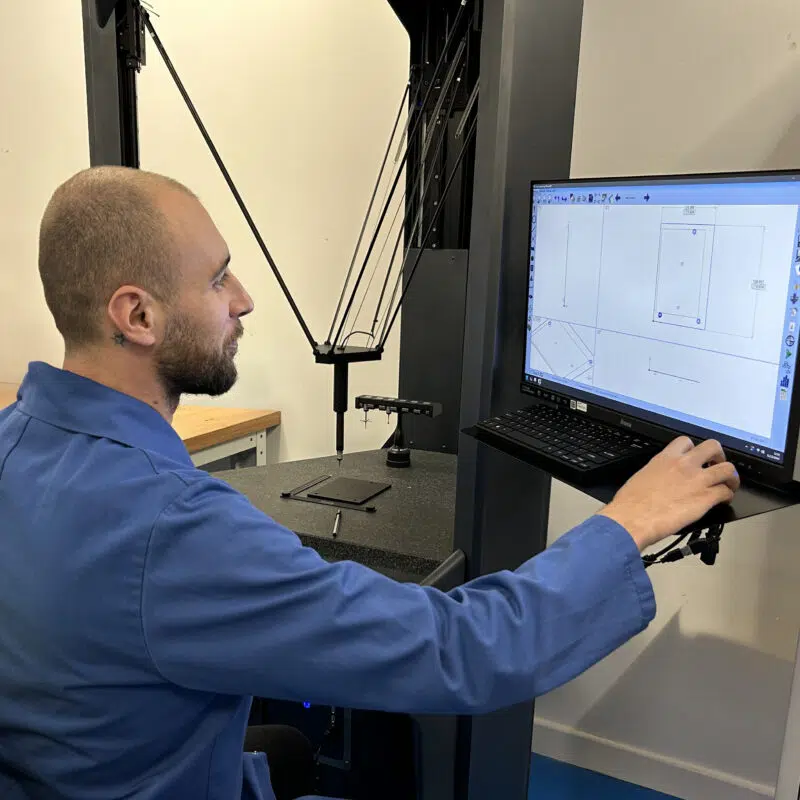
Specac found Deltron CMM to be the ideal solution, addressing their challenges while offering great value and versatility.
- Streamlined production: Integrating Deltron has significantly improved the speed and efficiency of Specac’s inspection processes. Its automated features allows them to handle increased production demands without sacrificing quality, making it easier to meet tight customer deadlines and scale operations.
- Consistent quality control: By investing in Deltron, Specac can achieve consistent, repeatable measurements, even on the most intricate or highspec components, reducing errors and ensuring the reliability needed to meet their high standards and customer expectations.
- Easy reporting: With advanced reporting tools, Deltron has helped Specac to quickly and accurately generate traceable documentation for their customers – something that was previously difficult, especially with smaller, more complex parts.
- While they explored other options, many of the alternatives were over-specified and too expensive for their requirements. Deltron stood out as a reasonably priced solution, offering surprisingly powerful features that met their needs without overstretching their budget.
- “Deltron was immediately appealing because it’s incredibly straightforward,” said Alex Frunzaru, Quality Inspector at Specac. “We could start using it with minimal setup—no need for compressed air or specialized temperature controls.”

“The ability to customize our inspection programs was exactly what we needed to handle the growing variations in our parts.”
Specac had already been using Swift PRO from Vision Engineering for other measurement tasks, so Deltron was a natural addition to complement their existing equipment. Together, these two devices now provide Specac with the flexibility and capability to cover all their measurement and inspection needs.
Implementation and training: a smooth transition
Thanks to the support of Vision Engineering’s experts, Specac could quickly adapt to the Deltron system. Hands-on, in-house training ensured the team could hit the ground running, and ongoing support has helped them create tailored programs for their specific parts. This has made batch inspections smooth and efficient, and Specac plans to continue refining its measurement programs through additional training sessions.
Alex and Mark both shared positive feedback about the Deltron’s ease of setup:
“The Deltron is truly plug-and-play,” Alex commented. “There’s no need for compressed air or temperature control, which makes it incredibly easy to integrate into our workflow. For the price, it’s excellent value for money.”
The results: streamlined workflows and enhanced quality assurance
The Deltron CMM has significantly improved Specac’s workflow. With programmable inspection routines, Specac can now efficiently manage batch inspections while maintaining measurement accuracy.
“The ability to program the CMM to check specific features without stopping to reconfigure has saved us a huge amount of time,” explains Mark.
Additionally, with Deltron’s programmable inspection routines, the team can set the system off to perform batch measurements in the background, allowing
them to get on with other quality assurance tasks.
In summary, Deltron has provided Specac with the precision and efficiency they need to keep pace with their growing demands, while Vision Engineering’s continued support ensures they get the most out of their equipment.


